SEARCH SITE


FEATURED

TAGS
Abandoned Disney (8) Adventure Thru Inner Space (2) Adventureland (12) America Sings (1) Animal Kingdom (2) Animation (19) Animatronics (20) Area Music (7) Backyard Imagineering (6) Behind-the-Scenes (39) Big Thunder Mountain (3) California Adventure (6) Captain E.O. (1) Carousel of Progress (12) Castle (7) Characters (6) Club 33 (1) Concept (13) Construction (15) Country Bear Jamboree (2) Death (2) Disney Channel (1) Disneyland (50) Disney-MGM Studios (1) Donald Duck (3) Entertainment (5) Epcot (28) Fantasyland (16) Fess Parker (1) Film (25) Frito Kid (4) Frontierland (14) Germany (1) Hall of Presidents (4) Haunted Mansion (10) Hidden Mickeys (2) Holidays (1) Hollywood Studios (1) Horizons (3) House of the Future (1) Illustration (3) John Lasseter (4) Journey Into Imagination (2) Jungle Cruise (15) Lake Buena Vista (1) Liberty Square (3) Lillian Disney (2) Ludwig Von Drake (1) Magic Kingdom (23) Main Street U.S.A (12) Maintenance (1) Management (4) Maps (13) Marc Davis (8) Marty Sklar (3) Matterhorn (6) Monorail (4) Mr. Lincoln (3) Muppets (2) Music (3) Mystery (9) Nature's Wonderland (7) New Orleans Square (6) Orange Bird (2) Paul Frees (1) PeopleMover (10) Peter Pan (2) Photos (1) Pirates of the Caribbean (9) Pixar (5) Pleasure Island (1) Podcast (1) Progress City (1) Props (2) Railroad (2) Resorts (2) River Country (4) Rivers of America (2) Roy Disney (1) Scale Models (21) Skyway (3) Song of the South (2) Sound Effects (2) Souvenirs (3) Space (3) Space Mountain (7) Splash Mountain (1) Tangled (2) The Living Seas (1) Then and Now (17) Tiki Birds (2) Tilt Shift (2) Tomorrowland (39) Tomorrowland 67 (8) Treehouse (1) Vintage Disneyland (3) Walt Disney (15) Walt Disney Family (7) Walt Disney Family Museum (1) Walt Disney World (6) Ward Kimball (1) Wonders of Life (1) World of Motion (2) World's Fair (2) Yeti (1)
LINKS
MORE FEATURED


MORE MORE FEATURED


Orange Bird Photo Hunt

EVEN MORE FEATURED

ADMINISTRATORS

Entries in Scale Models (21)

Friday
Aug222014

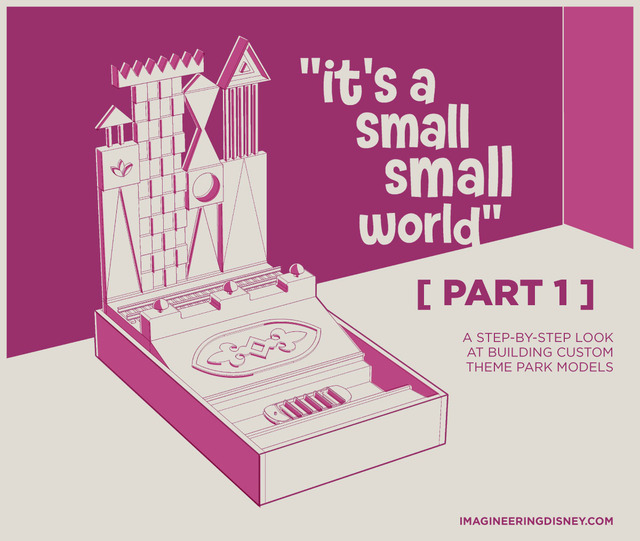
"it's a small small world" [ PART 1 ]

Who loves theme park models?? We do! Join me as I build a scale model of a portion of Disneyland's beautiful "it's a small world" exterior. 

While I was building a tiny Jungle Cruise model, my wife suggested I model part of her favorite attraction, "it's a small world". I figured such a model would require many different fabrication processes... which would make for a good model-building tutorial... which is something I've wanted to do for a while... so here we are.

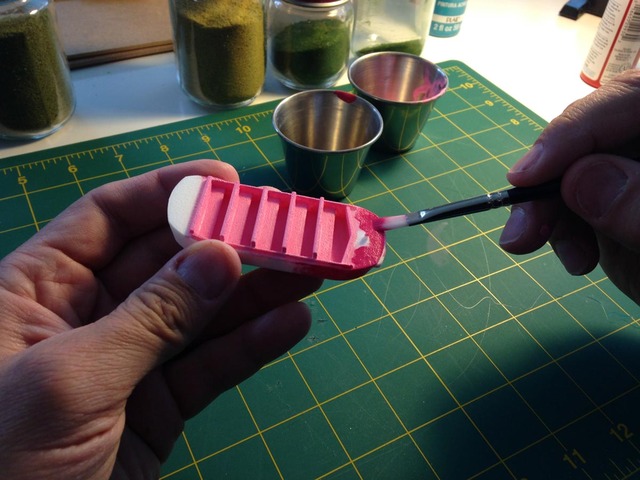
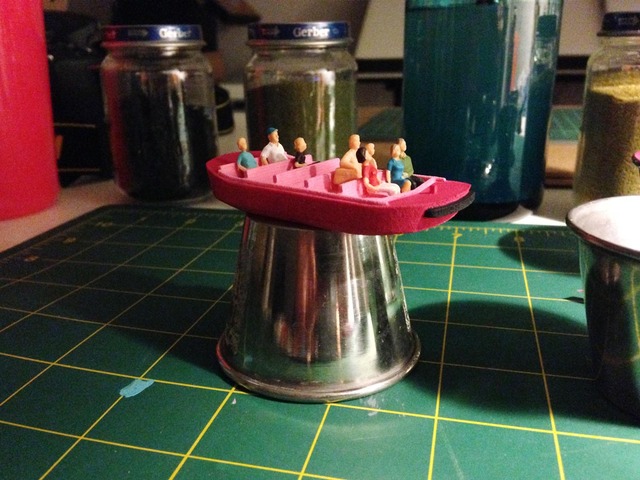
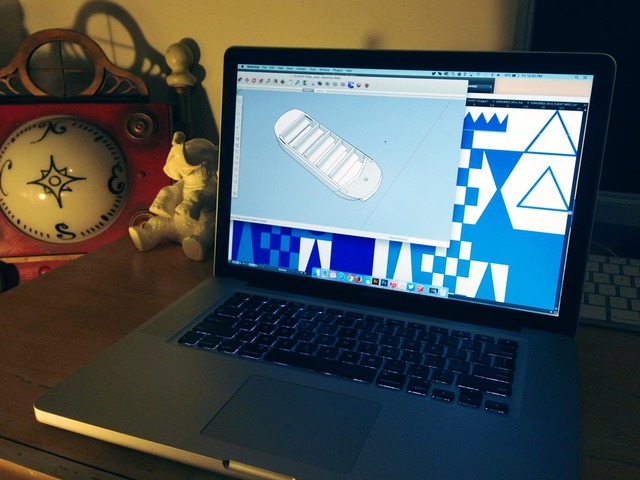
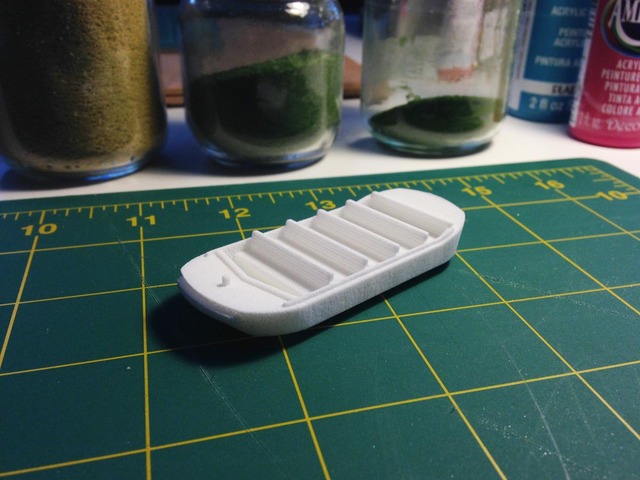
First, I decided to create a tiny passenger boat using a process I'd never tried before– 3D printing. I built a 3D model in Google Sketchup (free version!) then exported the file to Shapeways.com. Within seconds I had a price quote for each of the many materials offered by Shapeways (like plastic, steel, and even gold). I chose "White Strong & Flexible Plastic". This particular model at this size came in at just over $18.00.

After a few business days (which felt like FOREVER), the tiny boat arrived in the mail. Basing my color selection on an old photo of an actual "it's a small world" boat, I painted the 3D-printed boat with two shades of pink plus some black for the bumper. 

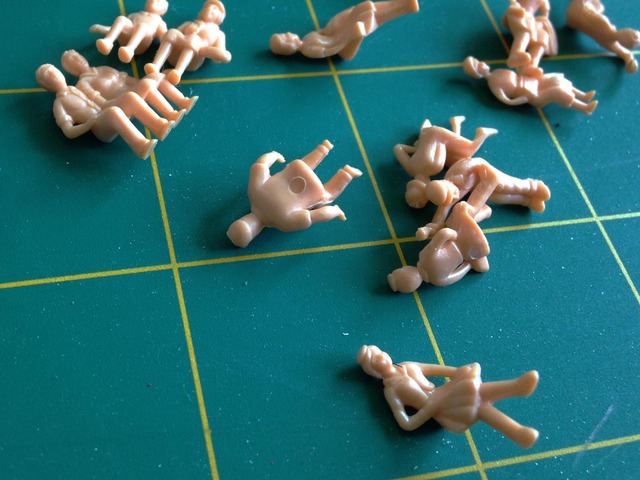
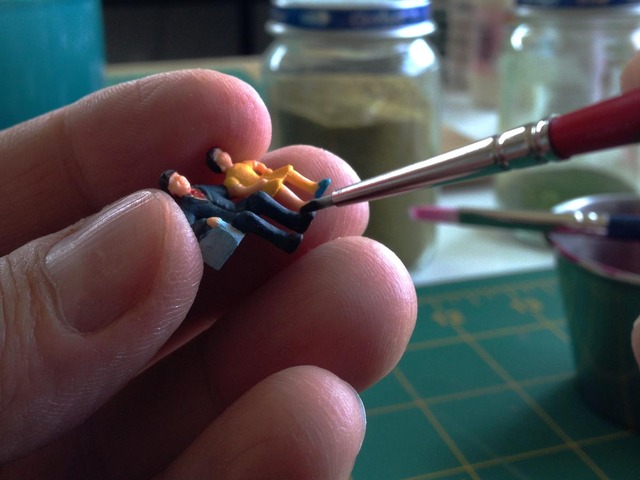
I found a pack of unpainted HO-scale figures by Model Power® at my local hobby store which I then painted with regular old craft paint.

They fit!
 
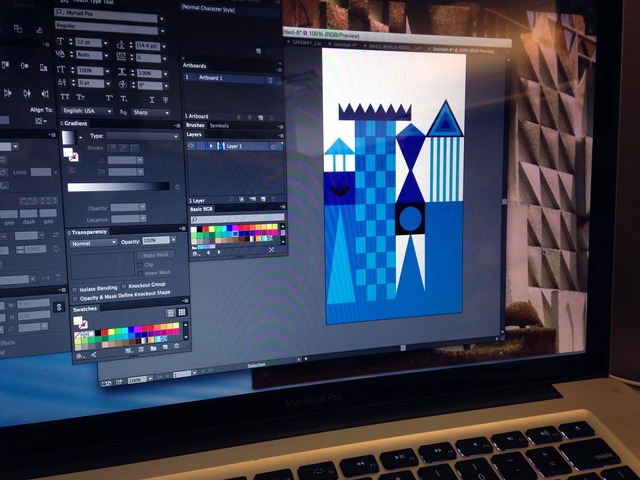
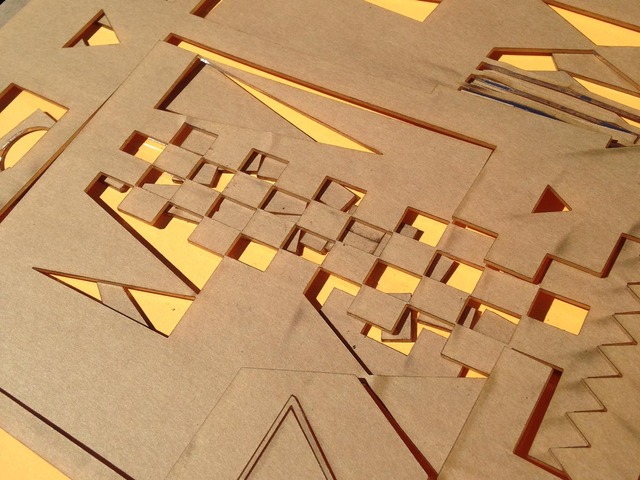
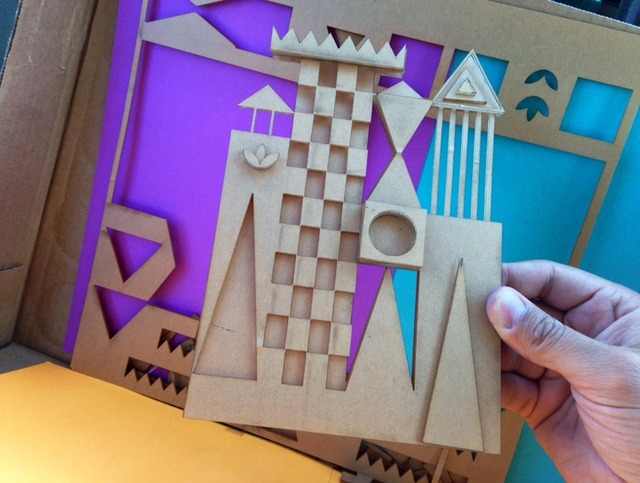
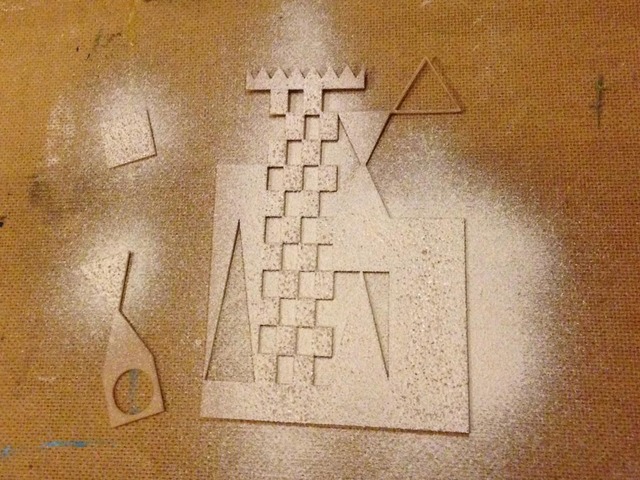
The layered cut-out look of Mary Blair's "it's a small world" facade called for some laser cutting. I drew each layer in Adobe Illustrator then separated the layers before sending them to be cut. I found a guy nearby with a laser cutter in his garage who offered to cut the designs into 1/16" clear acrylic for about $30.00.

Laser-cut pieces are cut with great precision and are well worth the cost. Cutting these by hand would have been a big old pain in the neck. No thank you.

A quick check to see if everything is here.

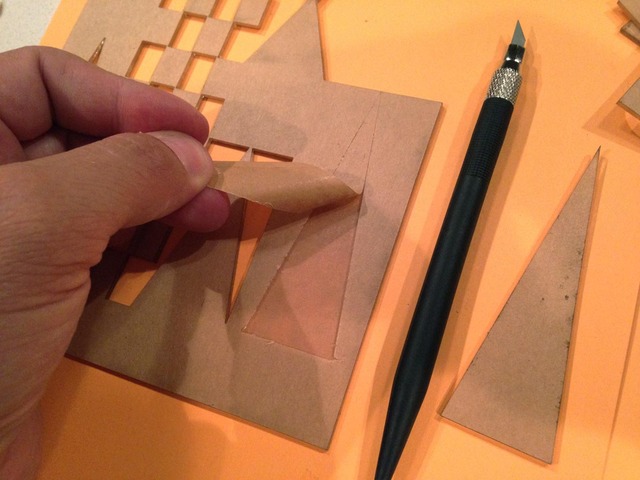
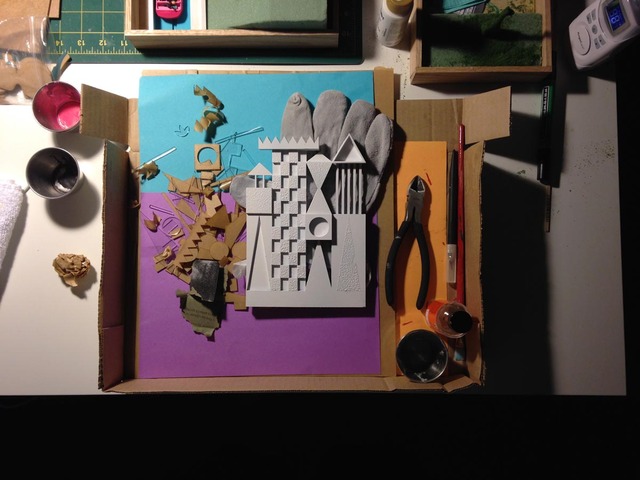
Now it's time to peel away the protective paper... But only the portions that need texture.

The protective paper serves perfectly as a mask, when cut accordingly.

You'll notice the real "it's a small world" facade is made up of both smooth flats and textured flats. About half of this piece of facade needed texture. A quick coat of textured spray paint did the trick.

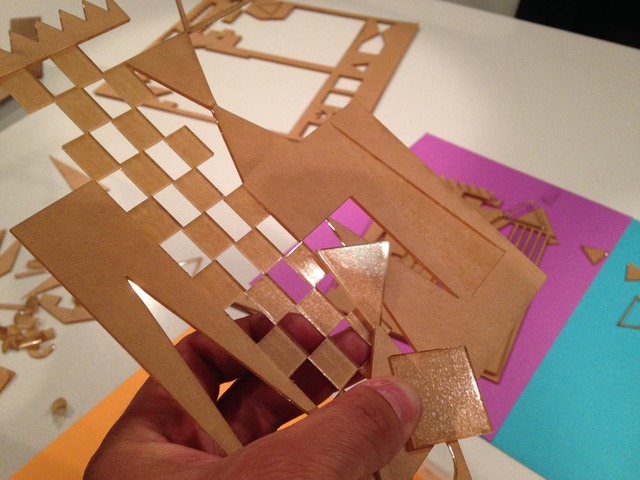
Next, all protective paper needed to be removed.

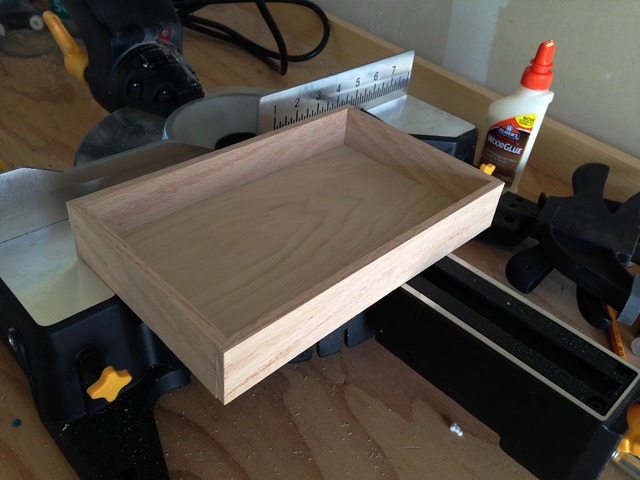
I then made a simple oak box to contain the model.

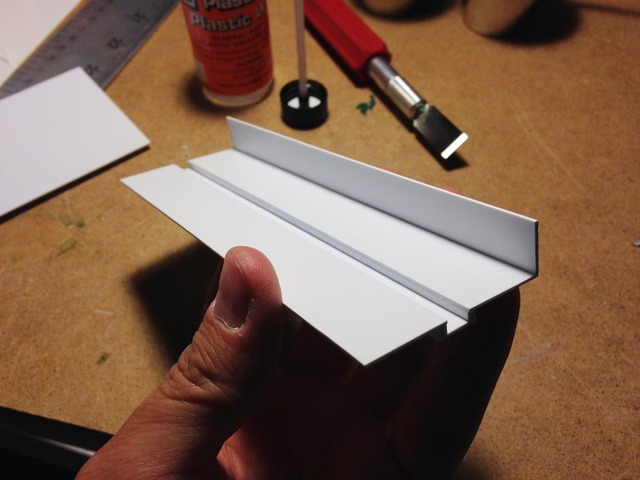
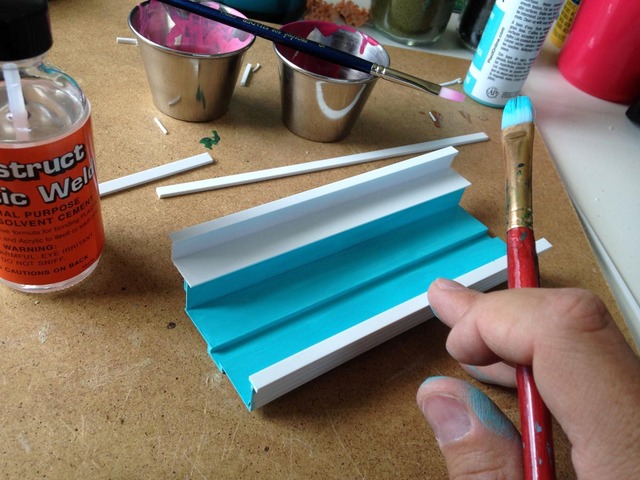
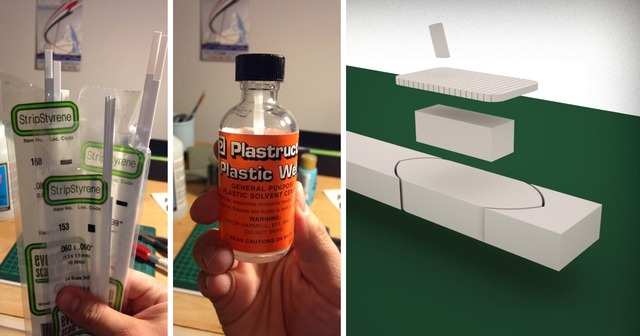
The flume was a cinch to construct. I used Evergreen Scale Models® sheet styrene and styrene strips (modeling must-haves) and Plastruct® Plastic Weld solvent cement (my favorite solvent) to join the styrene pieces together.

According the Evergreen package, "Unlike wood or other materials, styrene parts are joined by bonding with a solvent. Parts are assembled by merely holding them in position and applying a small amount of solvent to the joint. Use a small brush and apply the cement very sparingly– only a little is required to make a joint. The cement will be drawn into the joint by capillary action, softening the mating surfaces so that a fast bond, as strong as the styrene, is formed."

It's recommended that this sort of styrene structure be air brushed or spray painted, but I brushed on craft paint with a normal 1/2" flat brush and it turned out just fine.

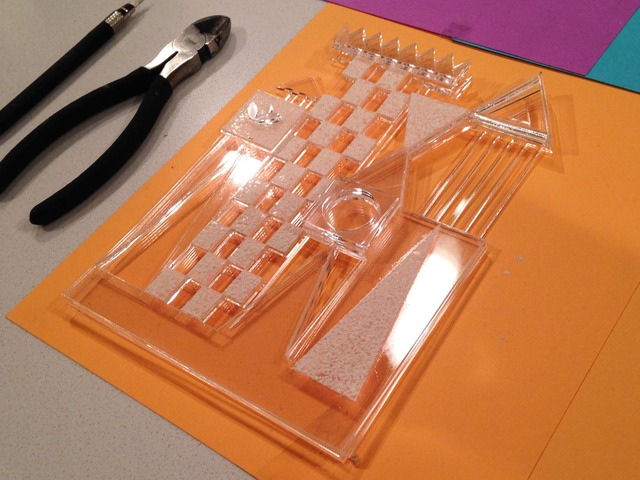
The same process of joining styrene together was applied to the clear acrylic pieces.

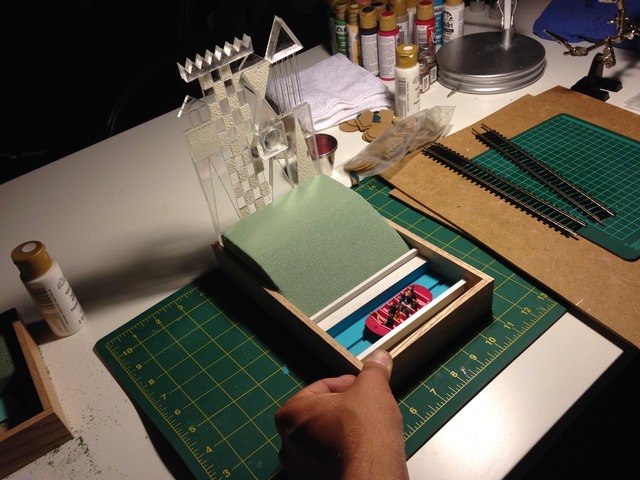
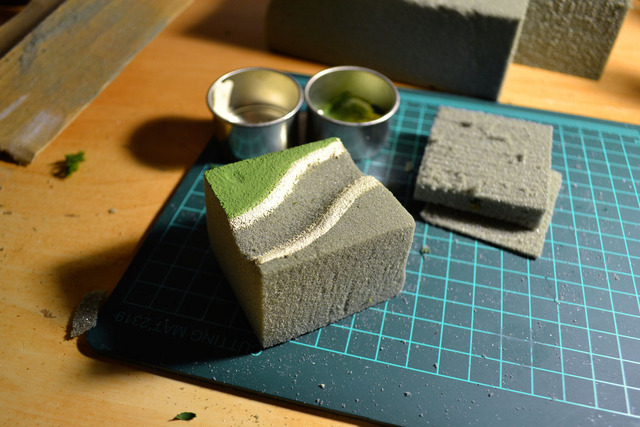
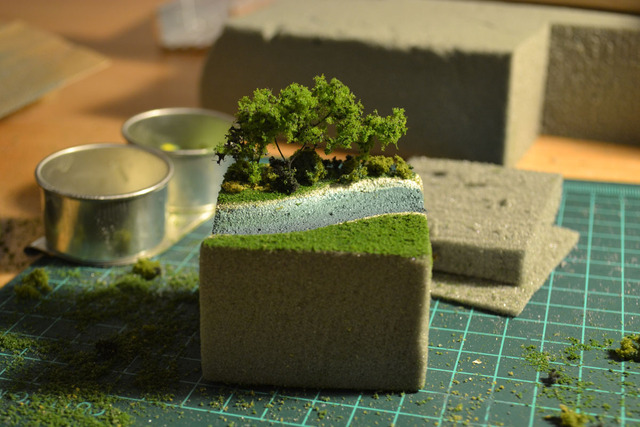
A block of green high-density floral foam is cut to form the hill between the flume and facade. More about this in Part 2.

A quick, temporary assembly of existing pieces brings the model to life. 

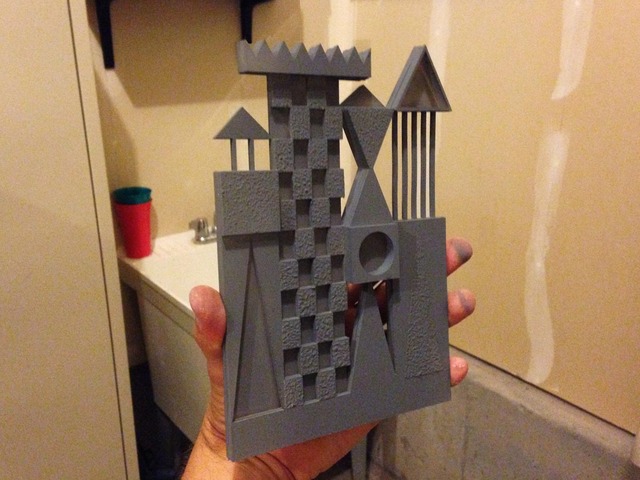
I then sprayed a coat of primer onto the acrylic.

Then two coats of white spray paint.

We're about halfway through the model-making process. You might be happy to know that this sort of thing requires less artistic ability than most people assume. It requires some know-how and a bit of practice, but really, most people can do what you see here.

Stay tuned for Part 2.


Related posts:

Tiny Jungle Cruise Model
Tiny Submarine Voyage + PeopleMover Model
EPCOT City Model [Part 1]
Working Splash Mountain Model
Mechanizing a Miniature Main Street Electrical Parade
Mars and Beyond Robot
Swiss Family Treehouse Model


Sunday
Apr212013

Tiny Submarine Voyage + PeopleMover Model

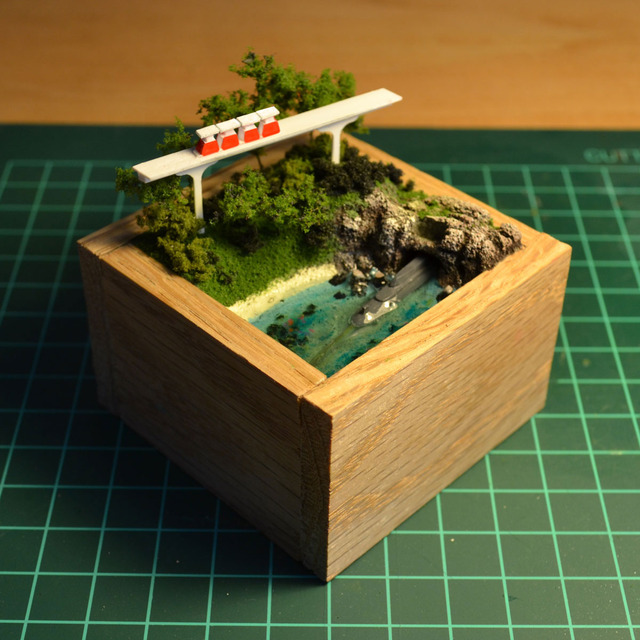
After having such a great time making a tiny Jungle Cruise model, I decided to make a tiny model of a couple of other favorite attractions.

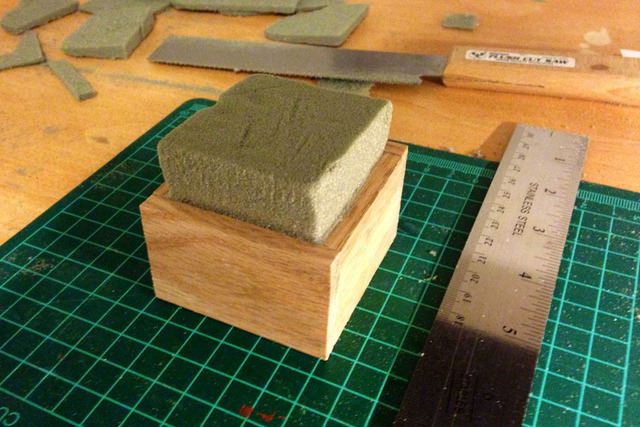
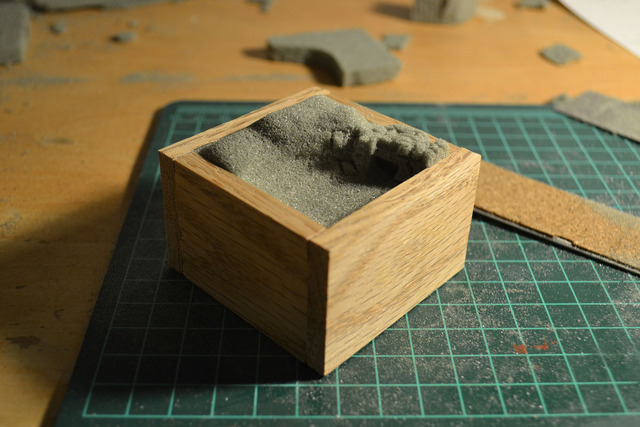
This time around I chose start with the wooden box. Filled it with a block of floral foam and began to carve.

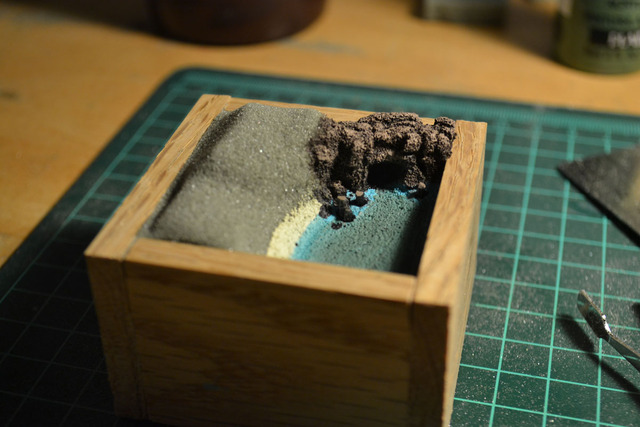
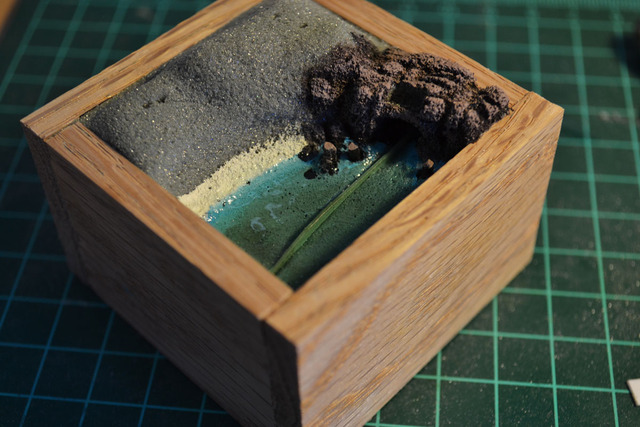
The texture of the foam made for nice rock details. I painted all the rockwork a dark color then dry-brushed a highlight color over the outermost surfaces of the rocks. Painted the water and let it dry.

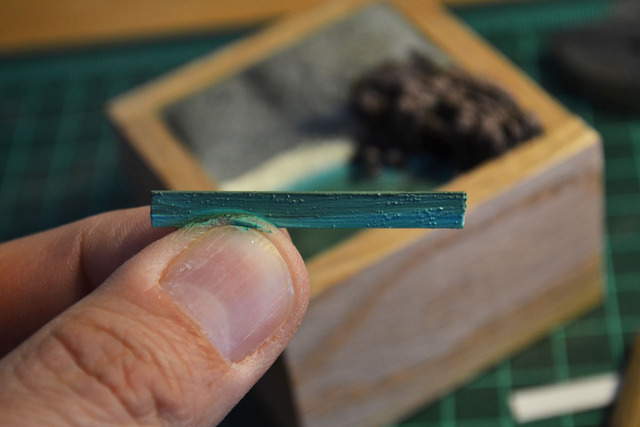
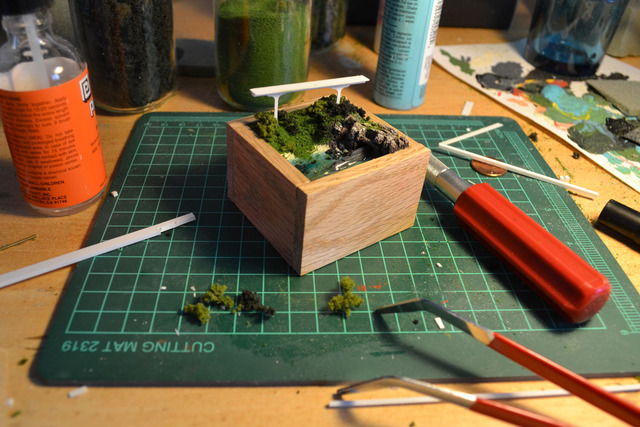
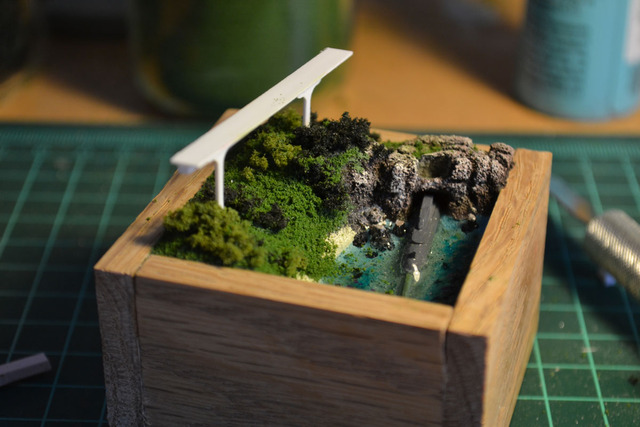
I then cut and painted a styrene strip to look like the guide track that Disneyland's old Submarine Voyage (and it's replacement, Finding Nemo Submarine Voyage) used to keep the subs on course.   

Began adding Woodland Scenics Realistic Water to the lagoon.

Using various StripStyrene styrene strips, I shaped the back end of a submarine. The styrene is easily joined using any brand of general purpose plastic solvent cement. I like Plastruct Plastic Weld. TIP: Hold any two pieces of styrene together and brush the solvent along the seams. No need to add solvent between pieces before joinging. Solvent isn't a glue. It actually melts the styrene pieces together then evaporates away.

I chose to paint the submarine the original gray color, much like I wanted the early striped Jungle Cruise canopy in the last model.

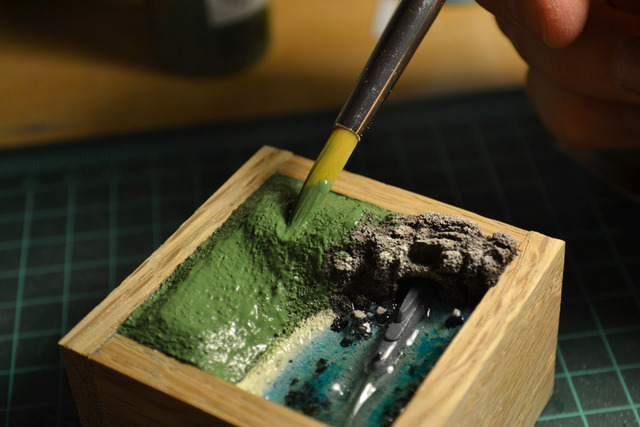
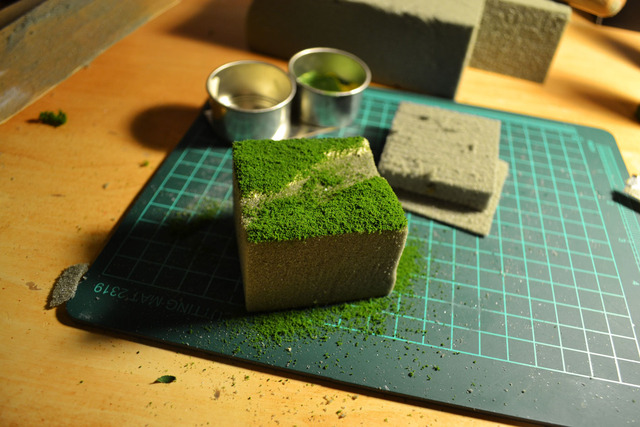
Applying generous amounts of green paint to will allow plenty of turf to stick.

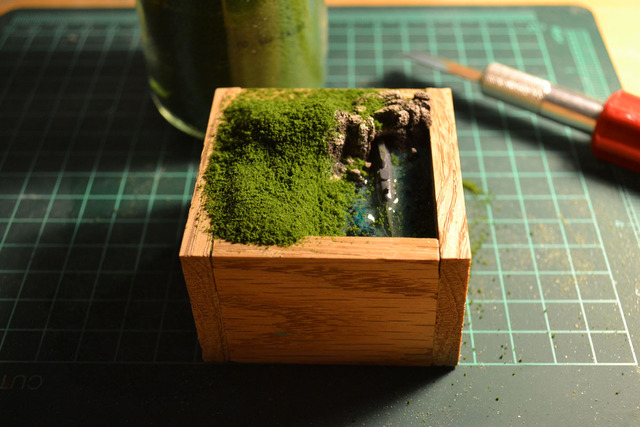
I then sprinkled on a thick layer of modeling turf onto the wet paint. Dumped it off once dry.

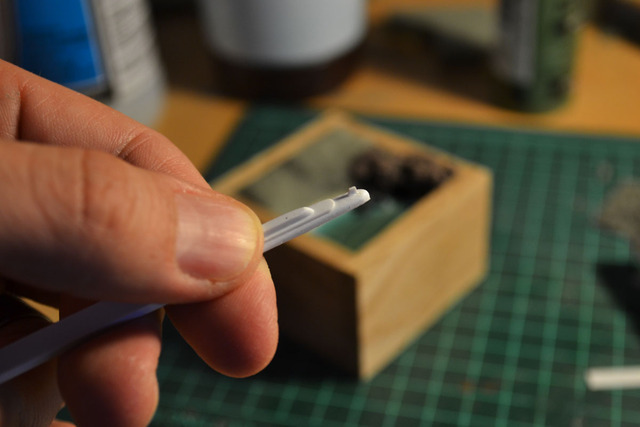
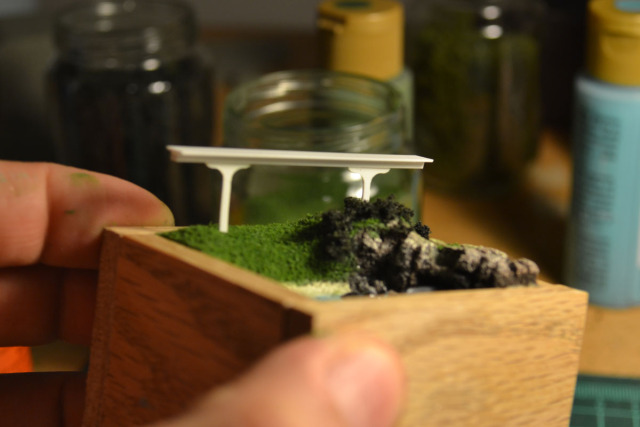
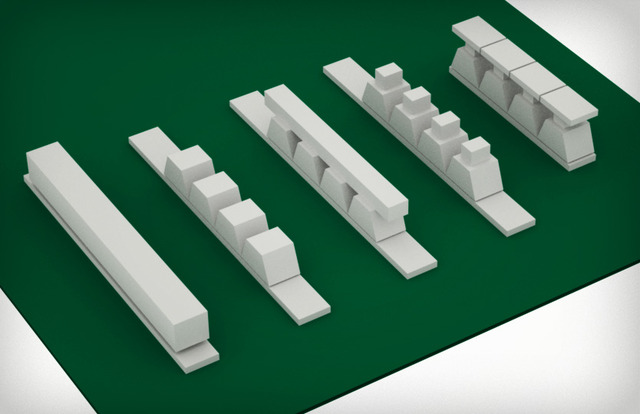
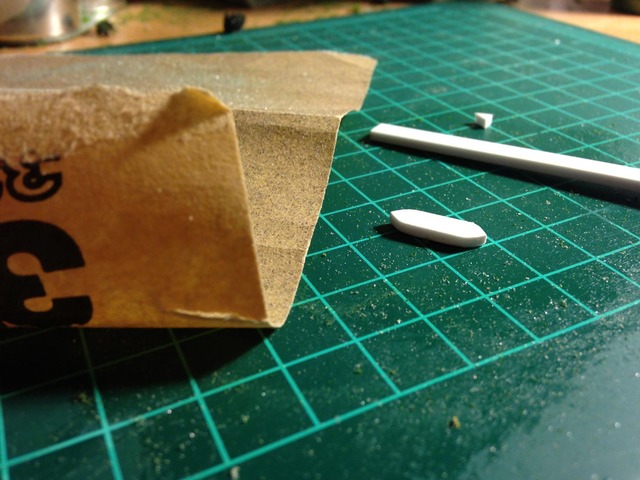
More styrene strips for the construction of the PeopleMover track.

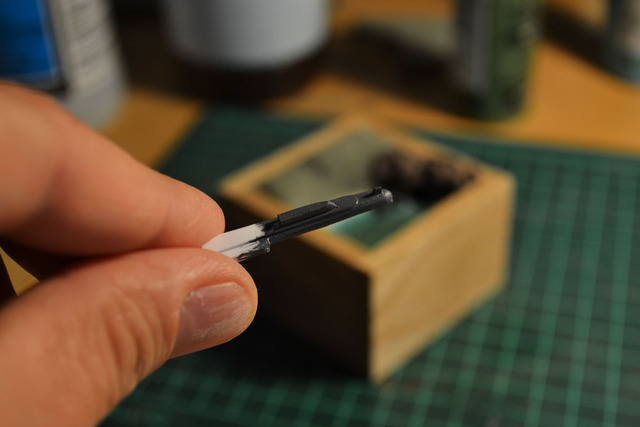
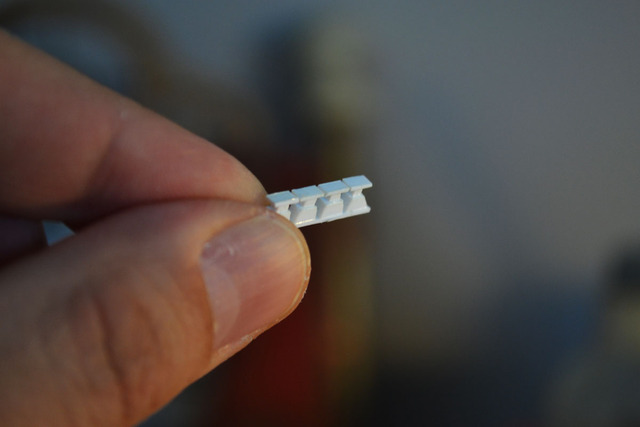
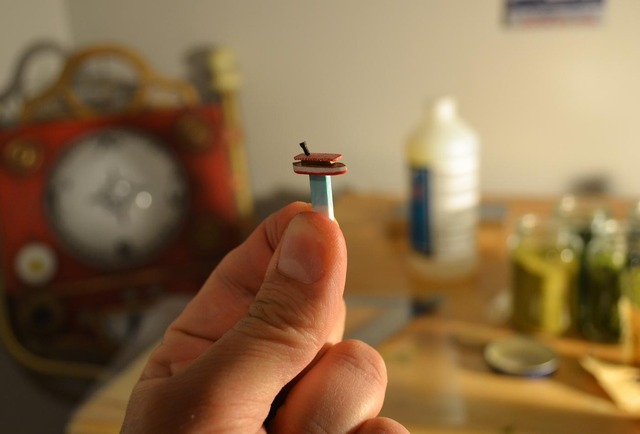
Tiny little baby PeopleMover cars. Isn't that CUTE??

PeopleMover Construction Update: In response to some question posted below, here's the process I used to construct the PeopleMover cars. After attempting a few different things, I found this to be the most successful. Join a thin strip to the bottom of the thicker strip you plan on using for your cars. The thin strip will help keep everything together. Follow each step below. As for the little roofs, I suggest cutting those separately. 

Added pretty bushes.


I wanted some good detail and depth in the the lagoon water. I added small plants between layers of water. After each thin layer of water dried, I colored little details directly onto the dry surface of the water using brightly-colored Prismacolor markers. Marker ink is inherently translucent which added a great effect.
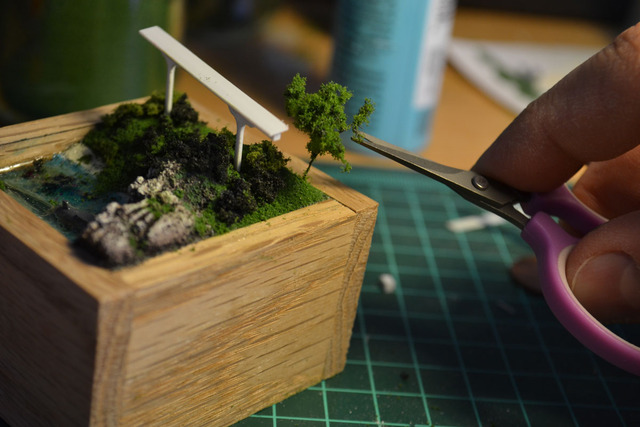
Started adding pretty little trees. Trimmed them like I was Mr. Miyagi. Purple sewing scissors required.
Adorable and life-like little Woodland Scenic Fine-Leaf Foliage trees.

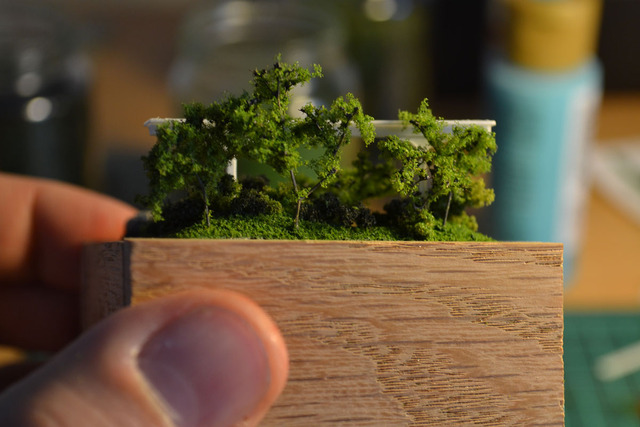
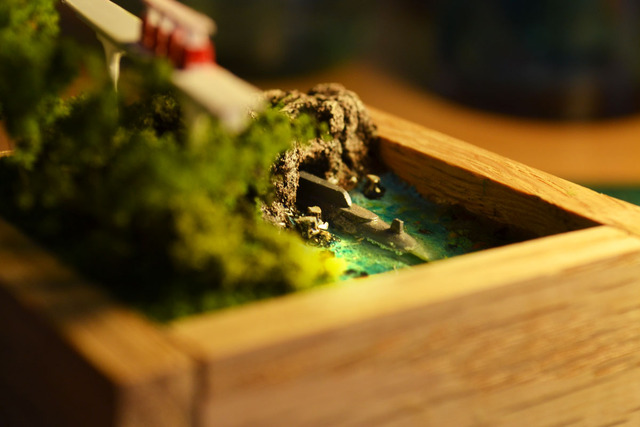
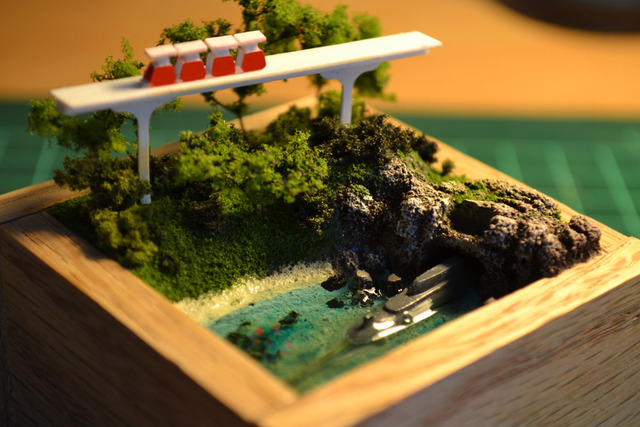
Once the PeopleMovers were painted (VERY DIFFICULT) and were solvent-ed to the track, the model was complete!

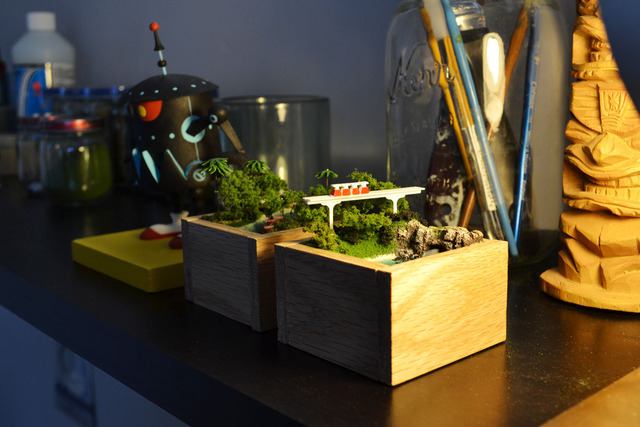
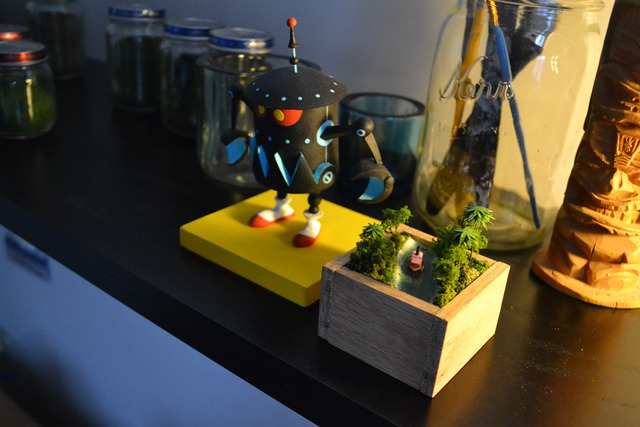
Up on the shelf it goes, right next to this project and of course this project.

I'm so tired. But I can't stop at two. Maybe one more. My wife has requested I make her favorite ride exterior. I can't say no... This is the first time she's ever asked me to make ANYTHING Disney-related for her. \

Also... Am I the only one who wishes they'd just classify the Finding Nemo Submarine Voyage as a Fantasyland attraction? Wouldn't that solve the whole "non-futuristic singing fish don't belong in Tomorrowland" argument?? They already "moved" the Matterhorn from Tomorrowland to Fantasyland a few years after it was built for similar reasons. Just do it, Disney. (Then fix Tomorrowland.)


Related posts:

Tiny Jungle Cruise Model
Mars
 and Beyond Robot
EPCOT City Model [Part 1]
Swiss Family Treehouse Model
Mechanizing a Miniature Main Street Electrical Parade
The Wonders of Nature's Wonderland [ PART 2 ]


Sunday
Apr072013

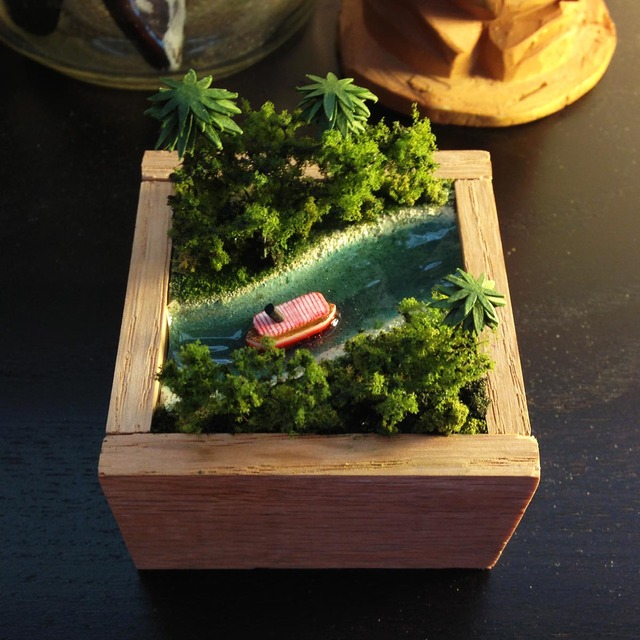
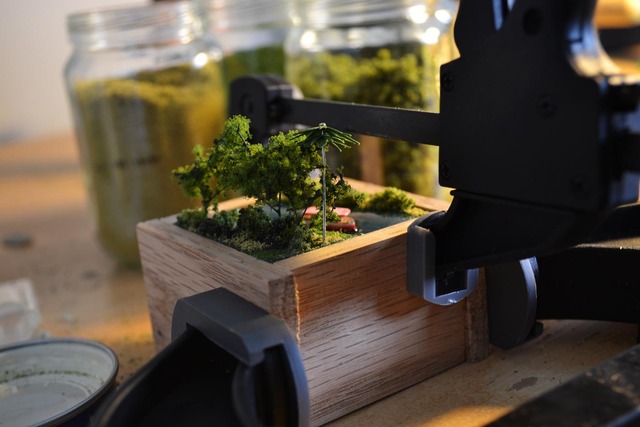
Tiny Jungle Cruise Model

I recently decided to make a little Jungle Cruise model for my home office. I'd like to share the process in case others might want to do something similar.

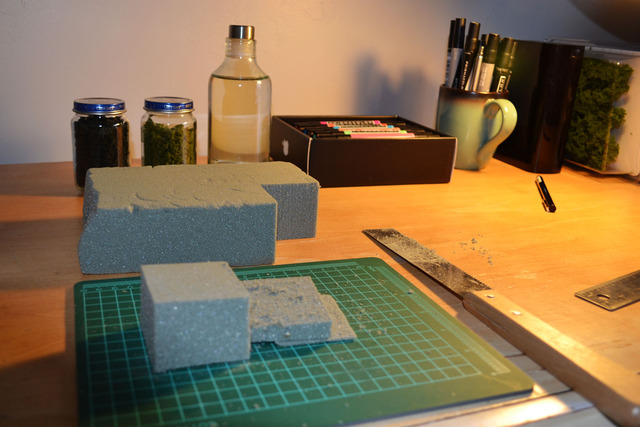
I started by cutting a 2"x2"x1.5" block out of floral foam. You know, the stuff you put at the bottom of vases of fake flowers. 

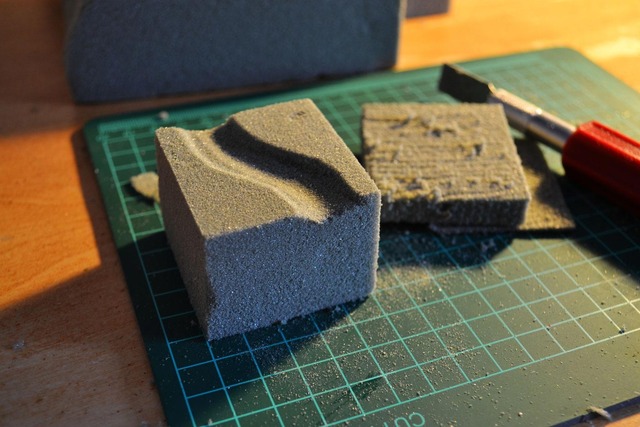
I then carved a waterway.

Applied paint.

Sprinkled generous amounts of fine modeling turf onto the fresh green paint. Once dry, I blew it off.

Added additional paint and modeling shrubs.

These spiffy little trees are called Fine-Leaf Foliage and come in large clumps. They are a product of Woodland Scenics and can be found at your local hobby store.

I chose to construct the tiny Jungle Cruise boat (old-style) from styrene plastic strips.

Boat Construction Update: Since the initial post, several people have asked for more information about the boat construction. The following image might help. The boat is made up of only four pieces of styrene. Use the appropriate sizes of styrene strips to cut each piece. Gently score lines into the top and sides of the canopy with a blade. When joining styrene, hold any two unpainted pieces together and brush a small amount of solvent along the seams. No need to add solvent between pieces before joining. Note: Solvent isn't a glue. It actually melts the styrene pieces together then evaporates away.

Painting the red stripes on the canopy was a bit tricky. I painted the entire top and sides red, making sure the red paint fulled each tiny little groove. Before the paint was dry, I wiped off each surface. The paint inside the grooves remained in place.

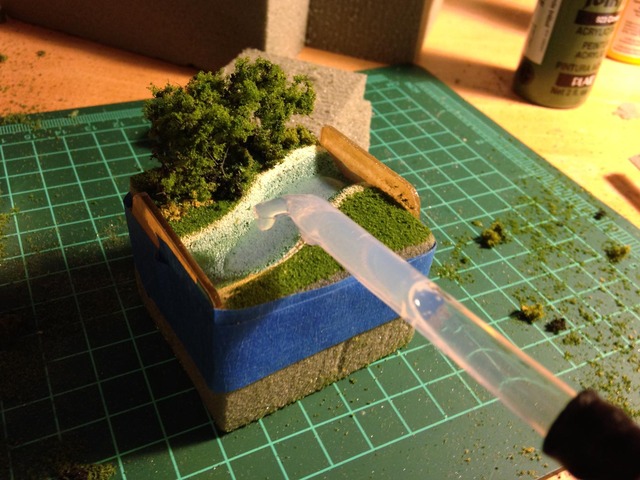
After the waterway paint was dry, I added a liquid product called Realistic Water, also from Woodland Scenics.

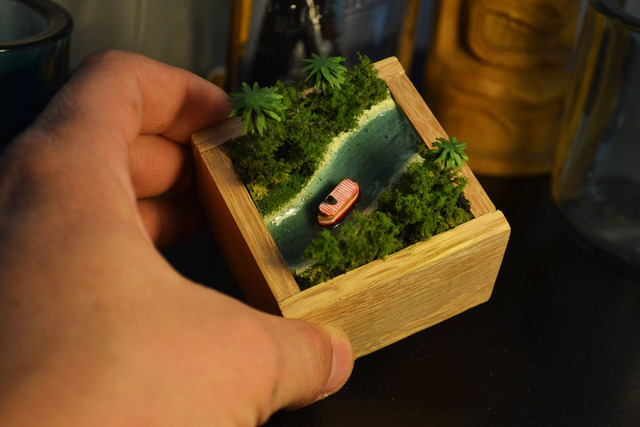
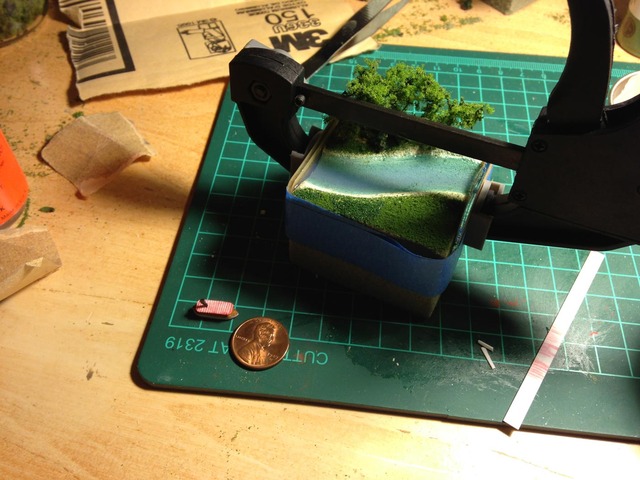
Several thin layers later, the waterway is nice and dry and very clear. Notice how the boat measures up to a penny?

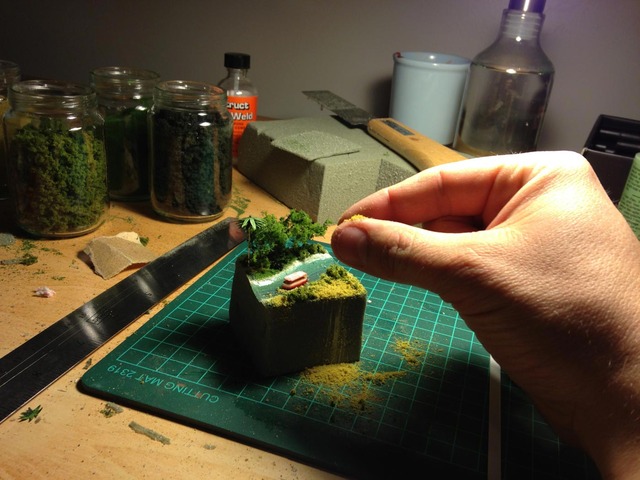
More foliage.

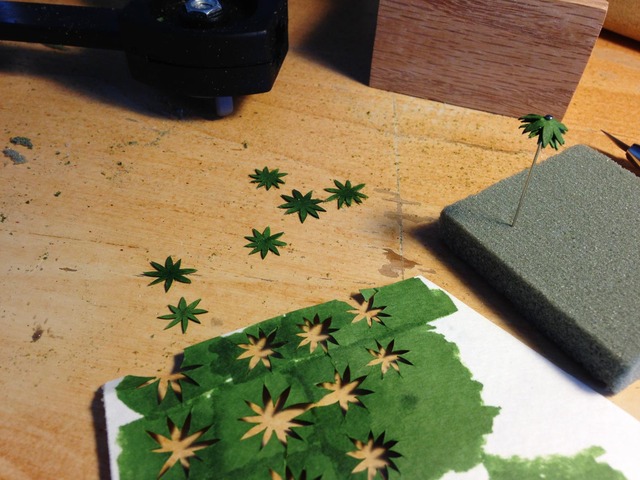
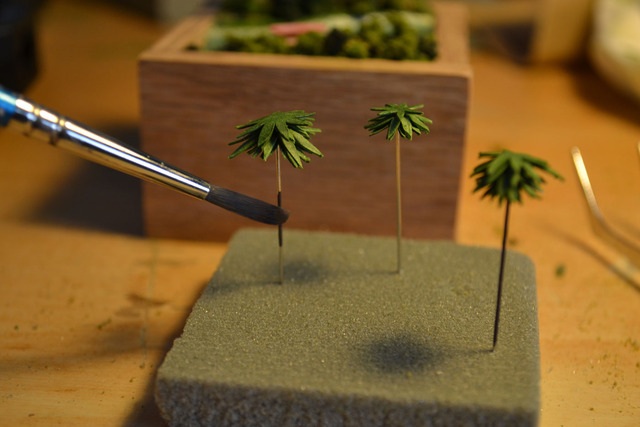
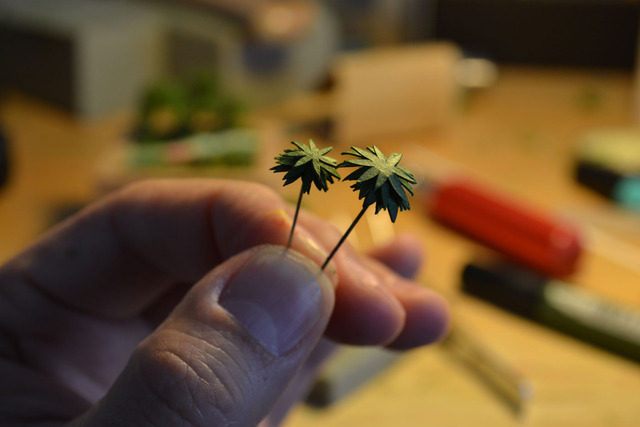
Tiny palm trees at this scale can be difficult to find. Had to make my own out of straight pins and watercolor paper colored with a Prismacolor marker.

Painted the pins.

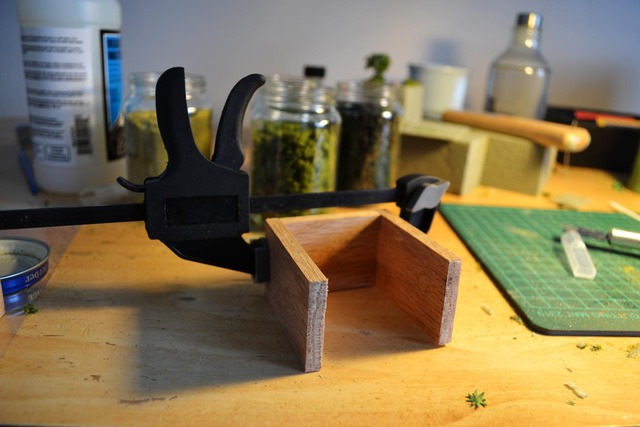
For a sturdy frame, I purchased a strip of a nice wood at the hardware store and cut it to fit.

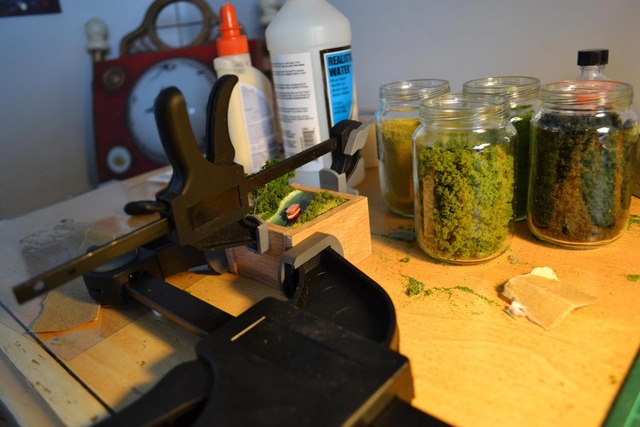
Glued the frame in place.

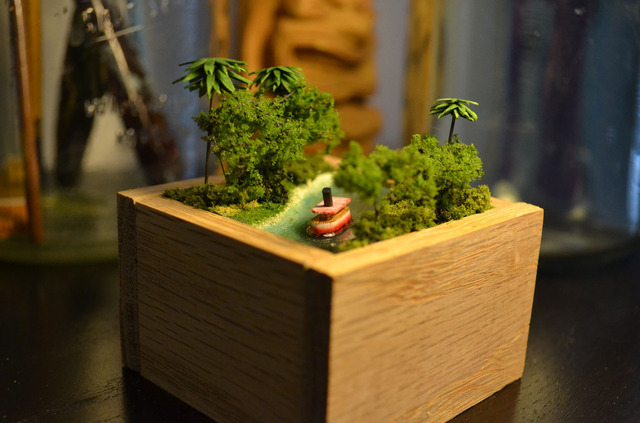
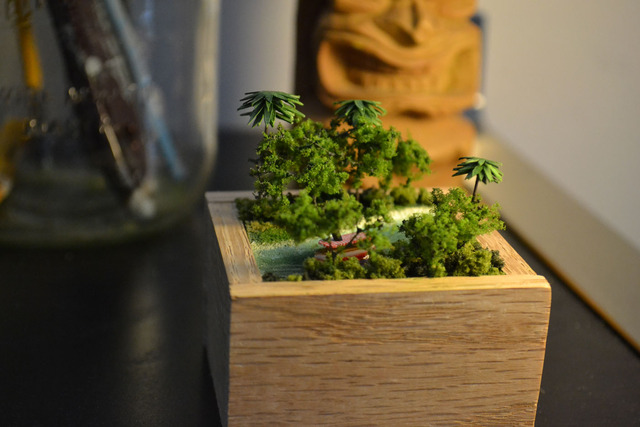
And finally....... the finished product.

Up on the shelf it goes. Right next to my Ward Kimball Mars and Beyond homemade robot. Read about him in this earlier blog post.


Related posts:

Mars and Beyond Robot
EPCOT City Model [Part 1]
Swiss Family Treehouse Model
Mechanizing a Miniature Main Street Electrical Parade
The Wonders of Nature's Wonderland [ PART 2 ]